p16r.nl
I built an arcade cabinet, and here's how
September 23, 2013 - 7 min read
Having been following the Raspberry Pi craze for a while (and after owning several of them), I decided to put my hands to slightly good use and build myself an arcade cabinet to relive all those 80’s/90’s games I’ve played in my youth.
The plan was as follows;
- Find a donor cabinet
- Find arcade software for the Raspberry Pi
- Hook up the controller to the Raspberry Pi
- Hook up a screen
- Profit!
Step 1 - cabinet
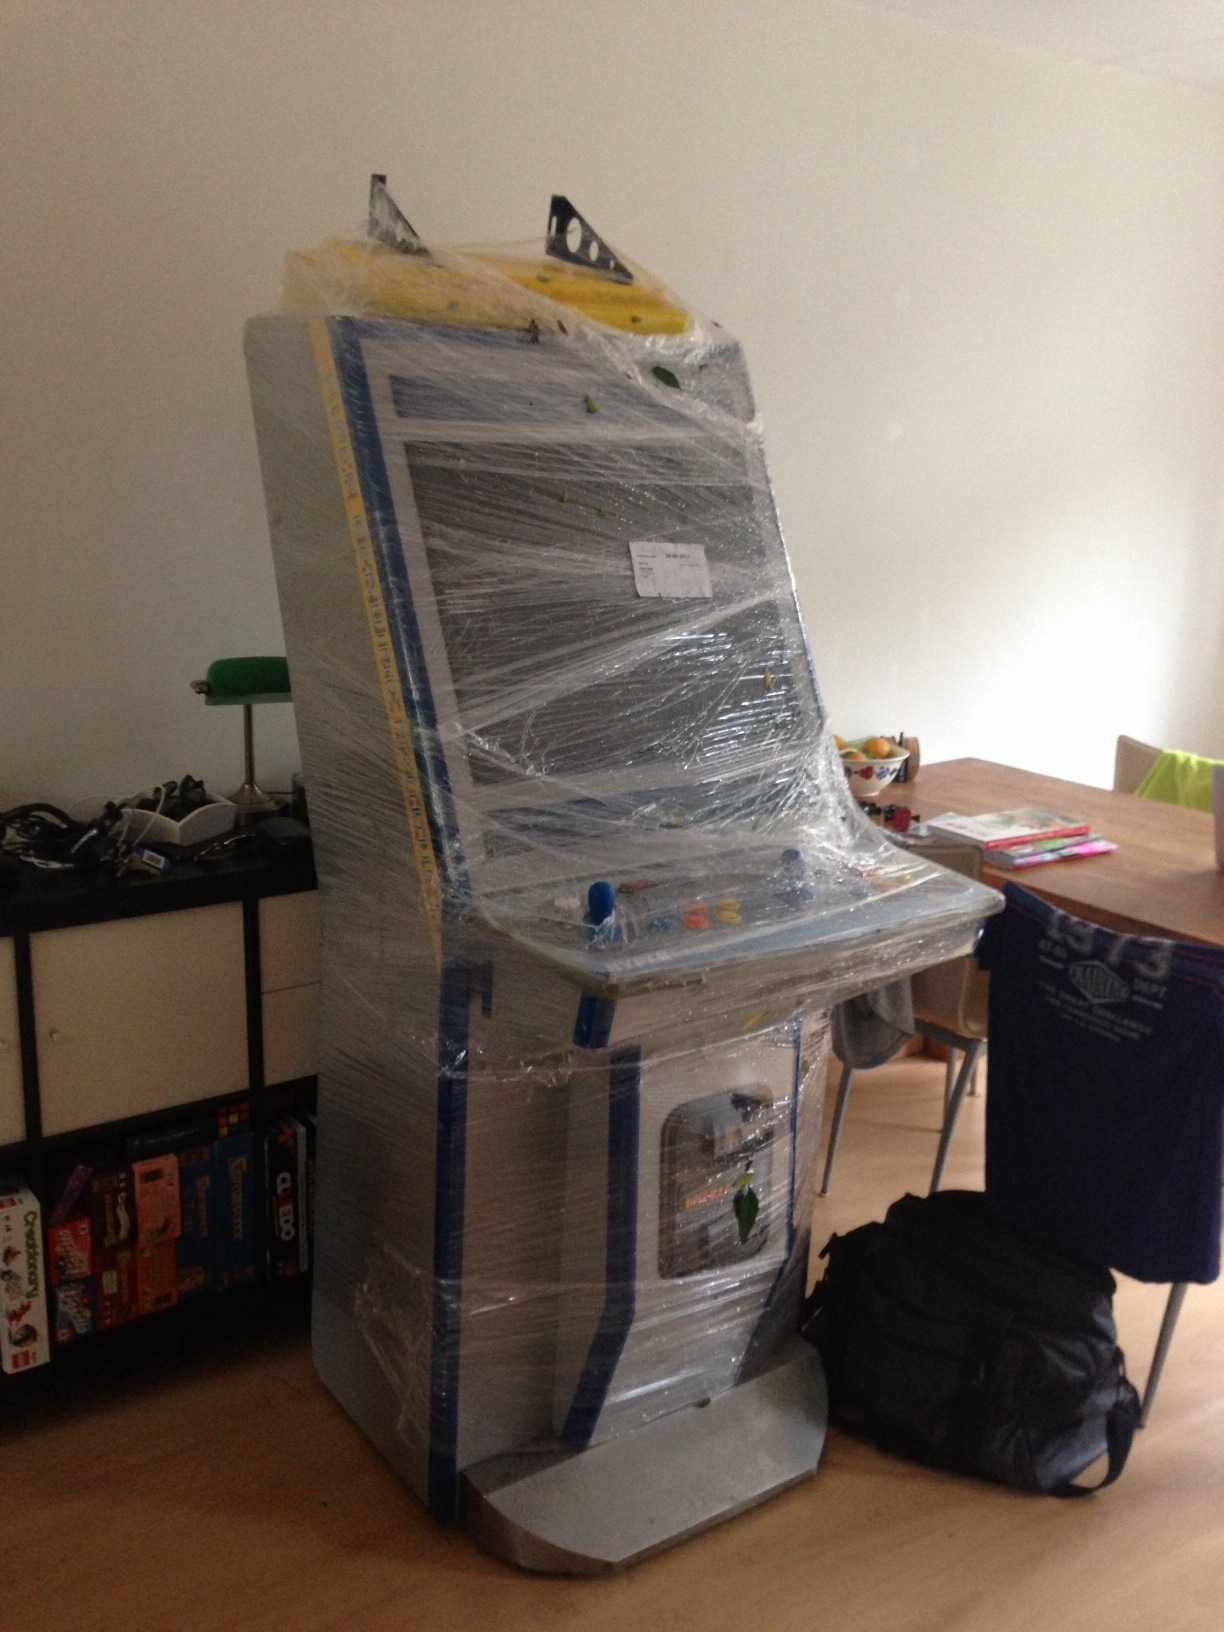
After scouring online market places for a good cabinet donor, I found a nice empty old cabinet online (@t Games Arcade) and decided to gamble on it and have it delivered from the other side of the country. To my delight, the buttons even had their switches in place so I didn’t need to buy those. It had a currency detector as well, and some basic wiring for fans, speakers and power. Cool! When it finally came, even the delivery boys were a bit jealous.
Step 2 - software
I started searching for out of the box software for arcade cabinets based on the Raspberry Pi. Luckily, a few brave souls had gone here before me. I looked at HyperSpin, which is a great piece of software but you’ll need both Windows and a stronger machine to be able to run it. Then I found Raspbian which allowed me to run AdvanceMAME and several other emulators on the Raspberry. Then, even better, I found EmulationStation which is basically a front-end for all these emulators, so you can easily scroll through the different consoles and their games. I then came across RetroPie which will generate an image for your SD card with EmulationStation and a bunch of other configurables and emulators built in! This is basically a one-stop-shop-software solution for your arcade cabinet. Be sure to check out its excellent wiki page. On to step 3!
Step 3 - controller
To hook up the controller of my cabinet, I needed a USB encoder to encode the inputs so my Raspberry could read it. I found several articles/Youtube movies that showed how to do this with an old USB keyboard encoder, like this one or this one. This seemed a lot of work though, but I started on it anyway.
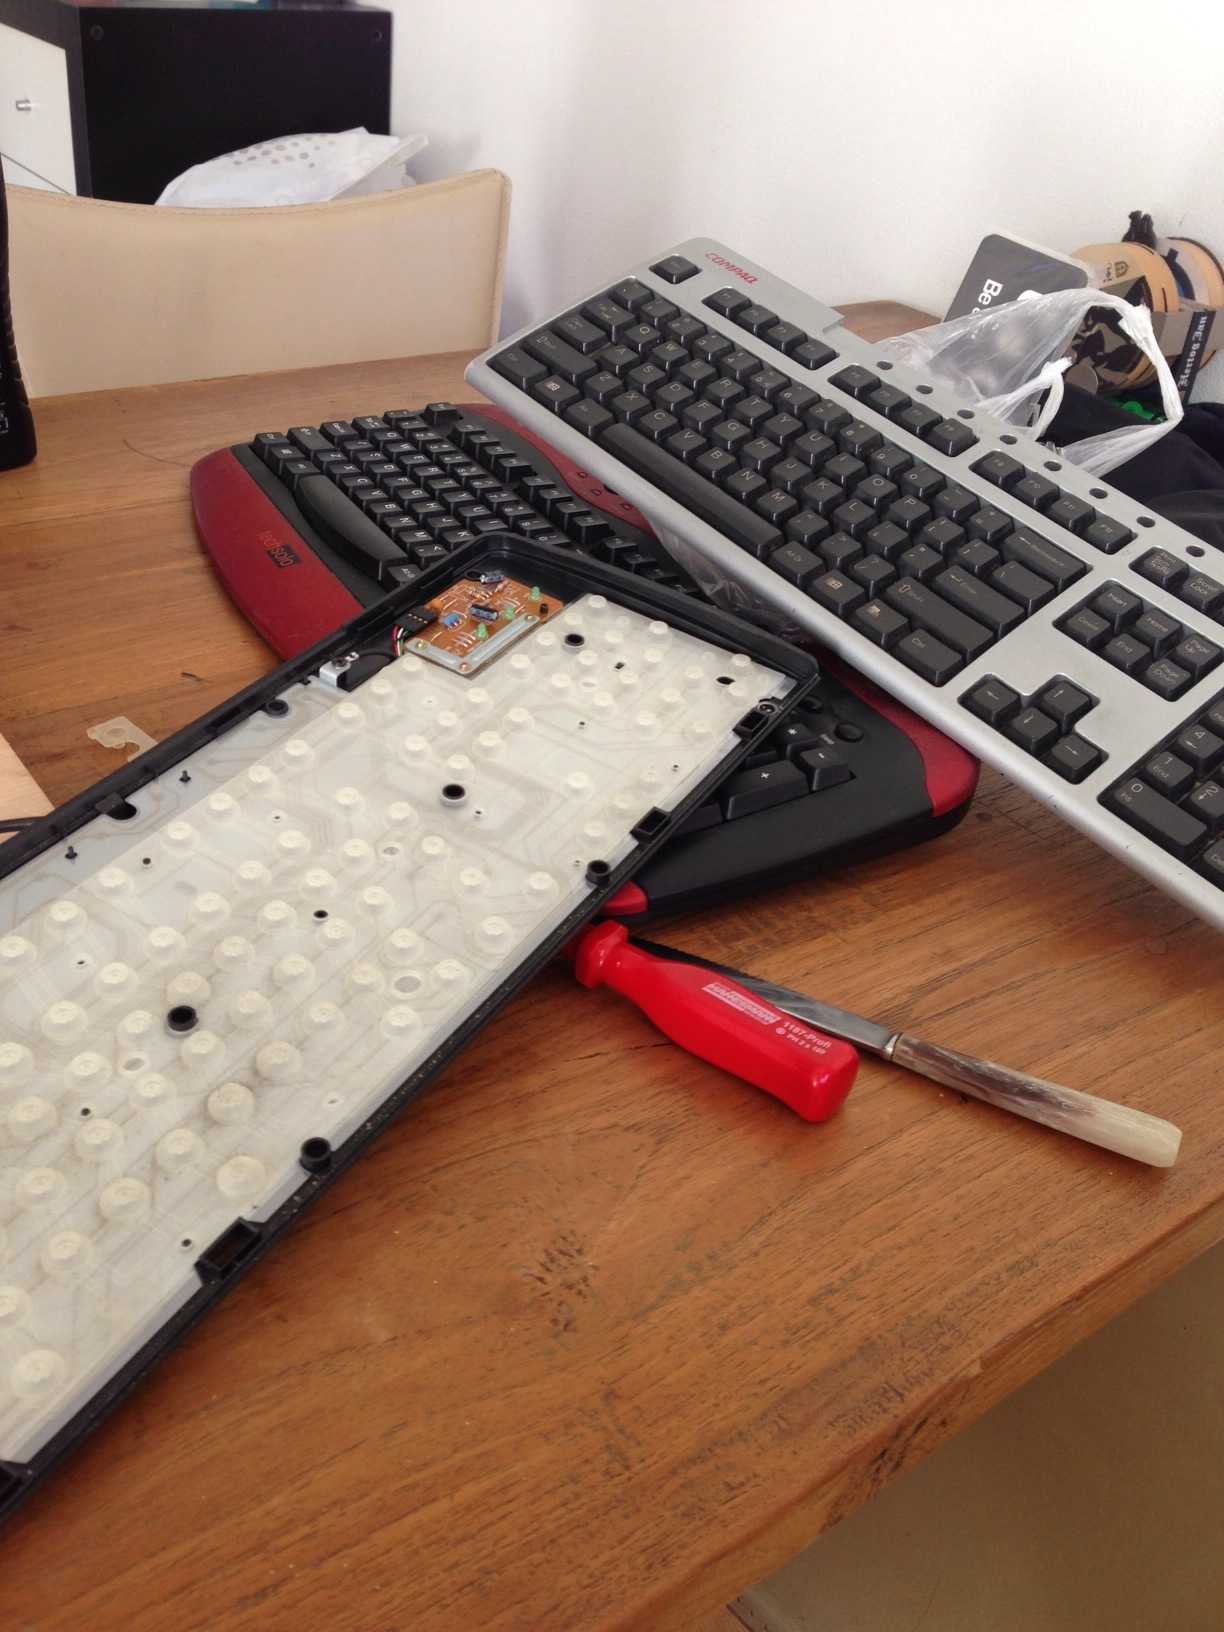
This did turn out to be a lot of work, especially when you realize you can buy a USB encoder to do exactly this from eBay, such as the excellent Xin-Mo Arcade to USB controller 2 player keyboard encoder. So I did just that. Dutchies can order it at ArcadeWinkel.nl. This package comes with wires to hook up your switches easily and a USB cable for about $25.
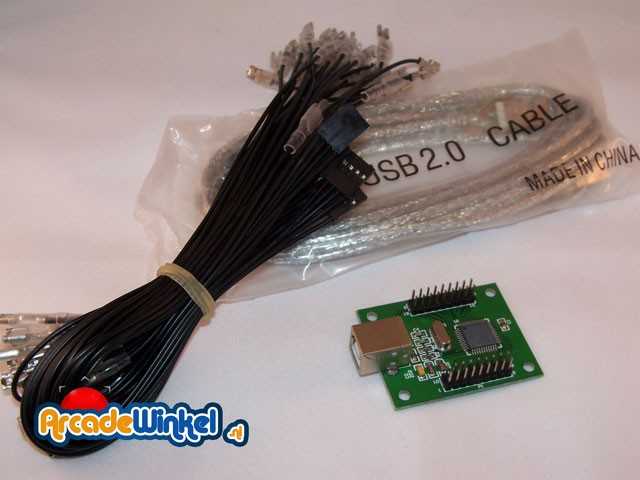
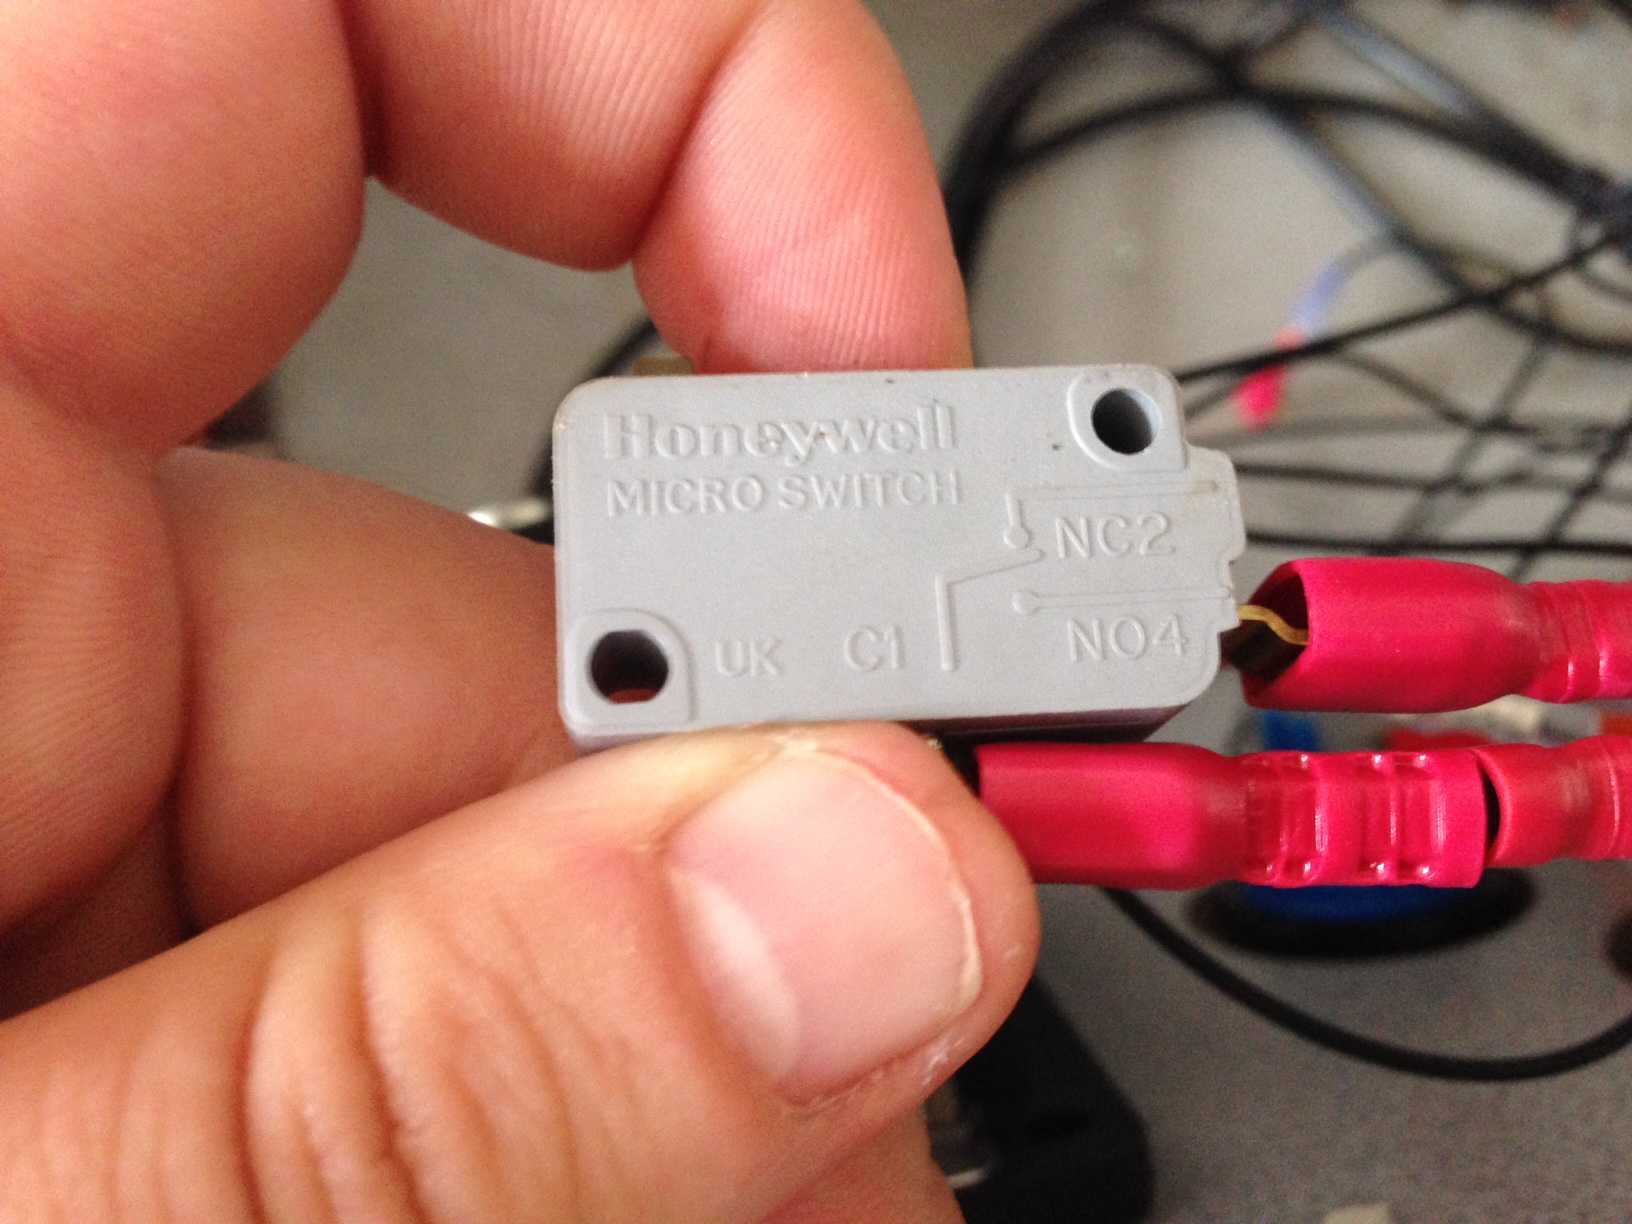
The switches that are used in most arcade cabinets are so-called ‘cherry switches’, like the Acemake switches. Apparently, these have received a size-makeover since the switches I found on my controller board were larger than the Acemake switches. The result; the wires that came with the Xin-Mo encoder didn’t fit on my switches. So I ran to my local RadioShack-like store and got some shrinkable cable lugs to create a sort-of convertor from small to big. This took me quite some time, since I had to shrink these together with an RJ crimper, for each button twice (so 4+6+2 * 2 * 2 players = 48 converters).
-640x480.JPG) The Acemake switches.
The Acemake switches.
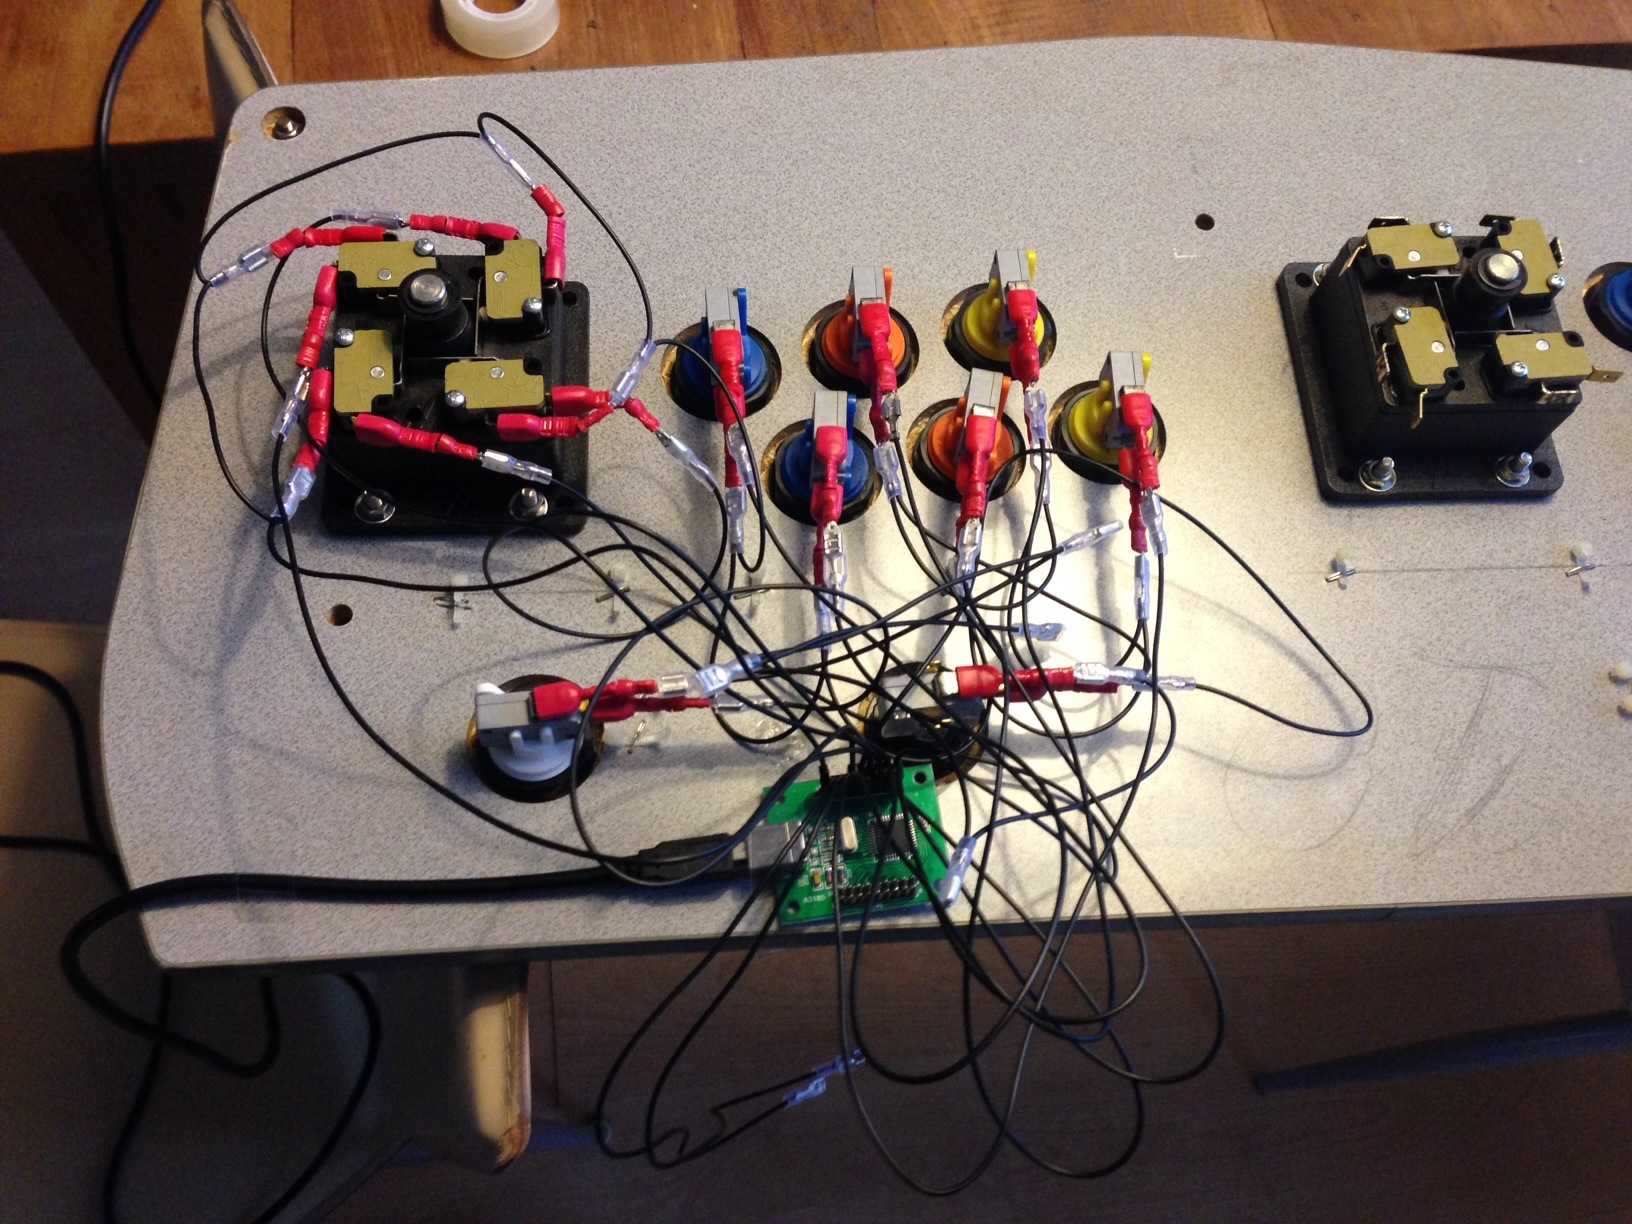
After wiring all my switches to the Xin-Mo encoder, I used the ‘evtest’ package on Raspbian to see which inputs are connected where. As it turned out, the HID driver in the Linux kernel for the Xin-Mo has faulty instructions, which caused the encoder to wrongly encode my inputs. I came across a blog by Ölbaum while researching this problem in which he details the problem and supplies a patch! You can find his blog post here; Patching the Linux Kernel to install the Xin-Mo Dual Arcade driver on a Raspberry Pi. Be aware to at least use an 8GB SD card for recompiling the Linux kernel. I tried it with a 4GB and it ran out of space half way through. So, after following Ölbaum’s instructions, evtest showed me the correct inputs. I then started to tinker with the software.
The thing is; EmulationStation has a nice config screen when it starts where you can map your keys. But it expects every controller is its own device in Linux, while my Xin-Mo acts as a software encoder for both player 1 and player 2. So I set up the controls for player 1 first, then mapped the controls for player 2 and I’ve combined the outputs to one single retroarch.cfg file. This is the result;
input_player1_joypad_index = "0"
input_player1_b_btn = "11"
input_player1_y_btn = "10"
input_player1_select_btn = "19"
input_player1_start_btn = "18"
input_player1_up_axis = "-3"
input_player1_down_axis = "+3"
input_player1_left_axis = "-2"
input_player1_right_axis = "+2"
input_player1_a_btn = "13"
input_player1_x_btn = "12"
input_player1_l_btn = "20"
input_player1_r_btn = "21"
input_player2_joypad_index = "0"
input_player2_b_btn = "1"
input_player2_y_btn = "0"
input_player2_start_btn = "8"
input_player2_up_axis = "-1"
input_player2_down_axis = "+1"
input_player2_left_axis = "-0"
input_player2_right_axis = "+0"
input_player2_a_btn = "3"
input_player2_x_btn = "2"
input_player2_l_btn = "5"
input_player2_r_btn = "4"

input_enable_hotkey_btn = "18"
input_exit_emulator_btn = "19"
The last two lines are used to be able to go back to EmulationStation when in game by pressing Start and P1 Select at the same time.
Step 4 - screen
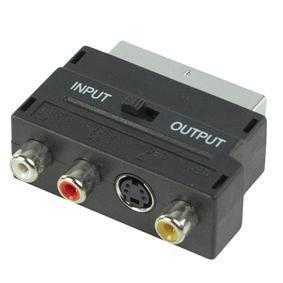
I still haven’t found a screen I’m really happy with. I found an old CRT TV that fits nicely in my cabinet, but ideally I’d like a 4:3 (or 16:10) ratio LCD screen that I can connect through HDMI. The CRT screen will be connected through the Raspberry’s composite output and a SCART converter. Right now, I’ve still got my 24” widescreen LCD hooked up to it.
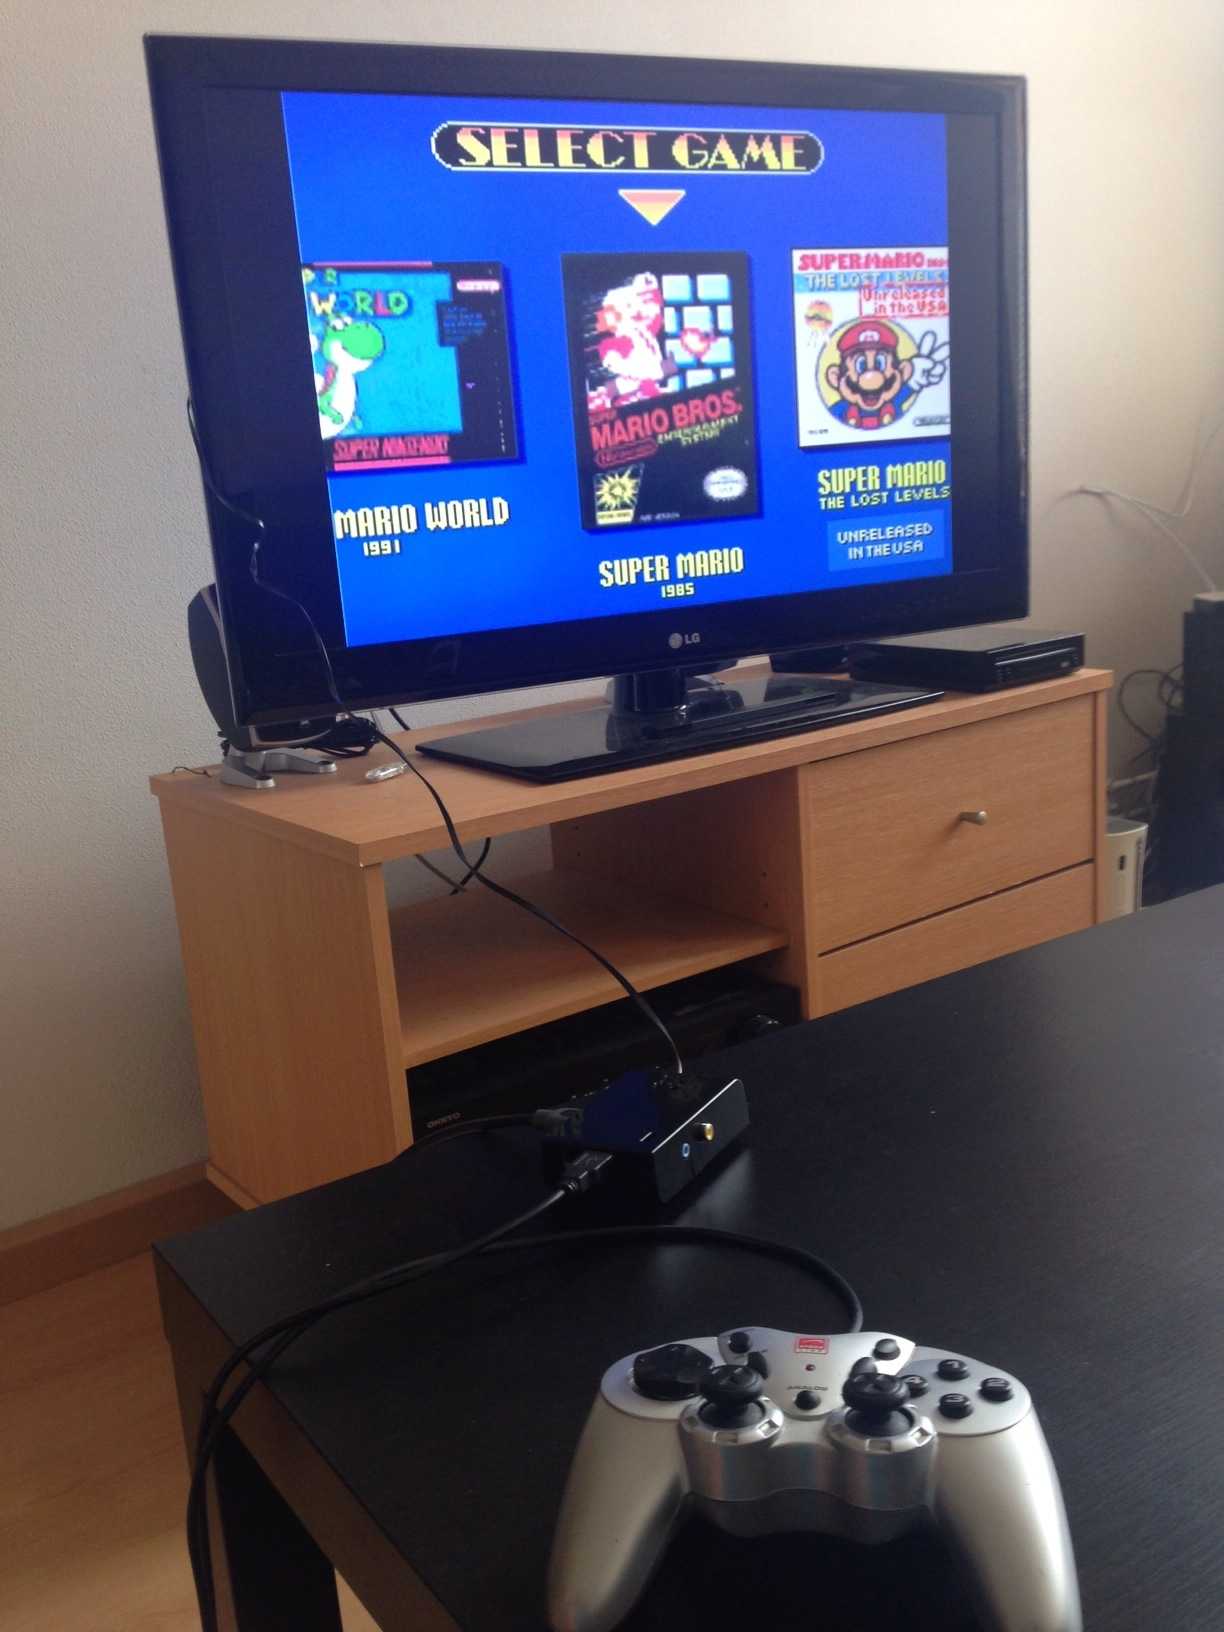
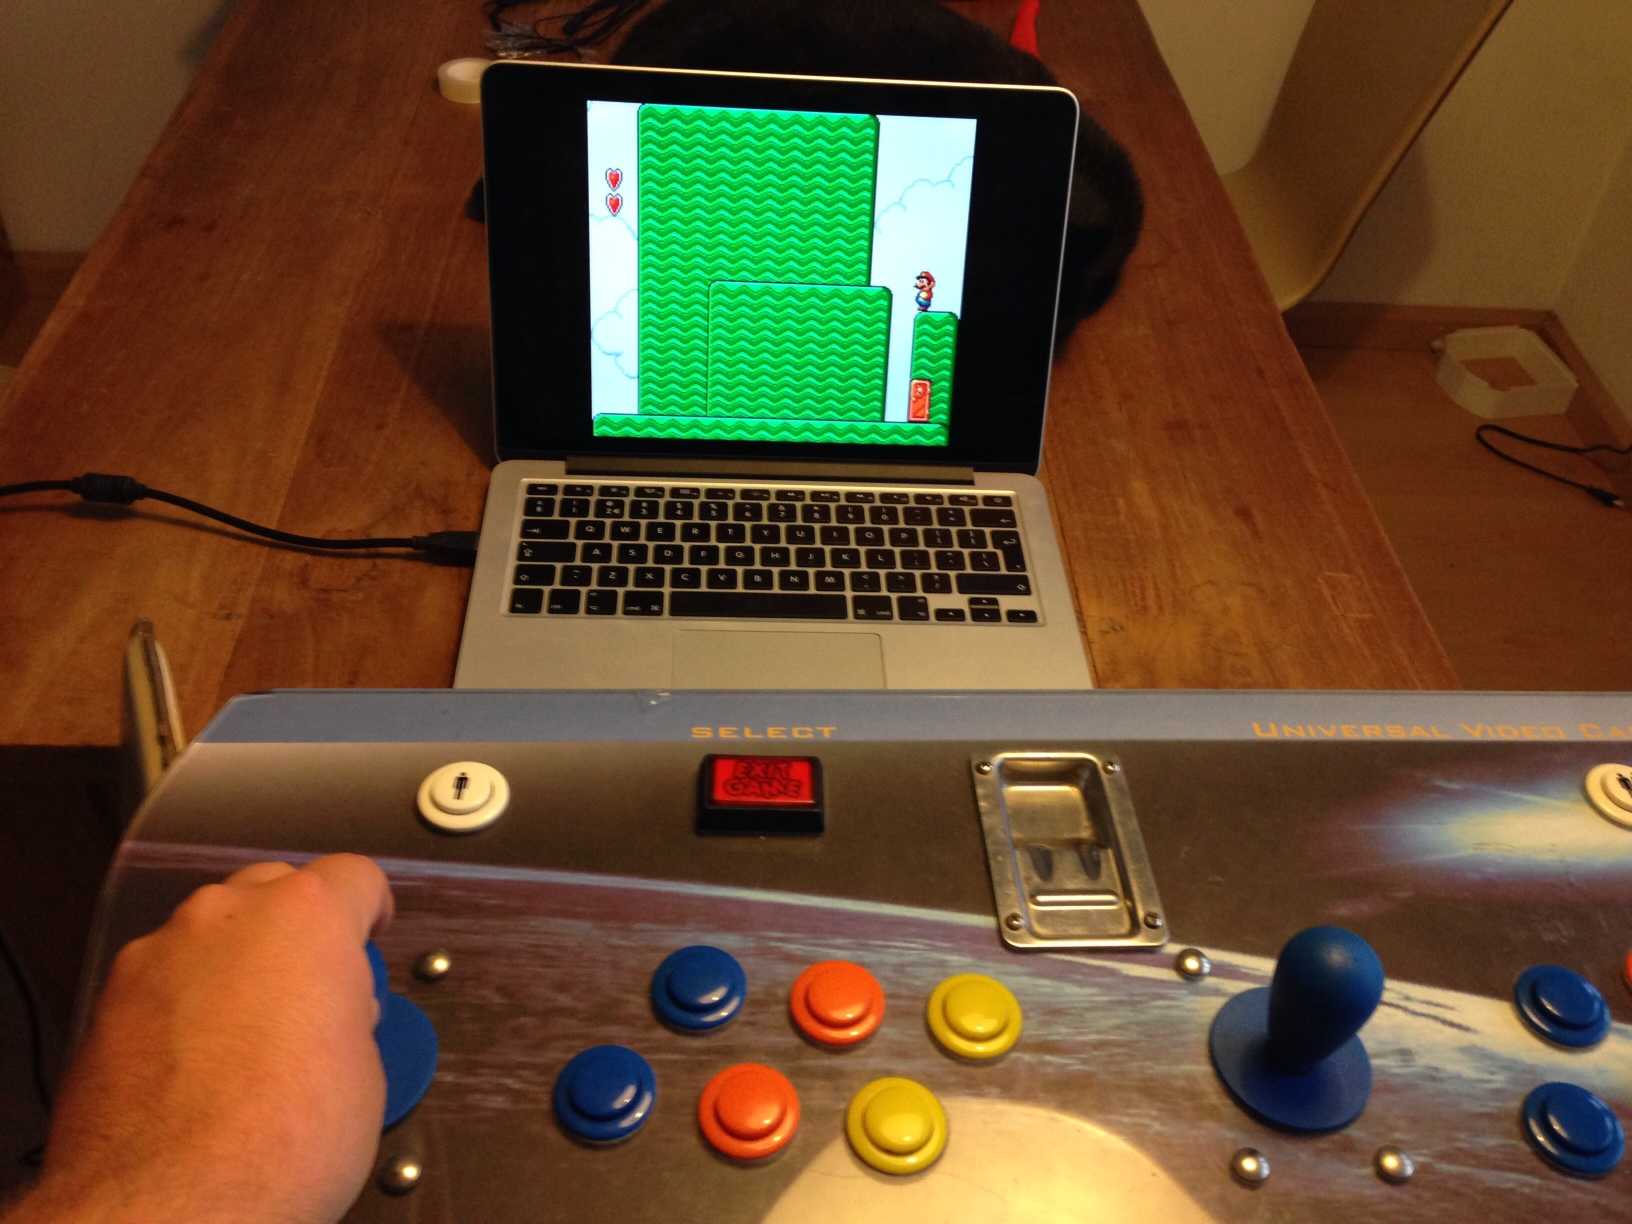
Step 5 - profit!
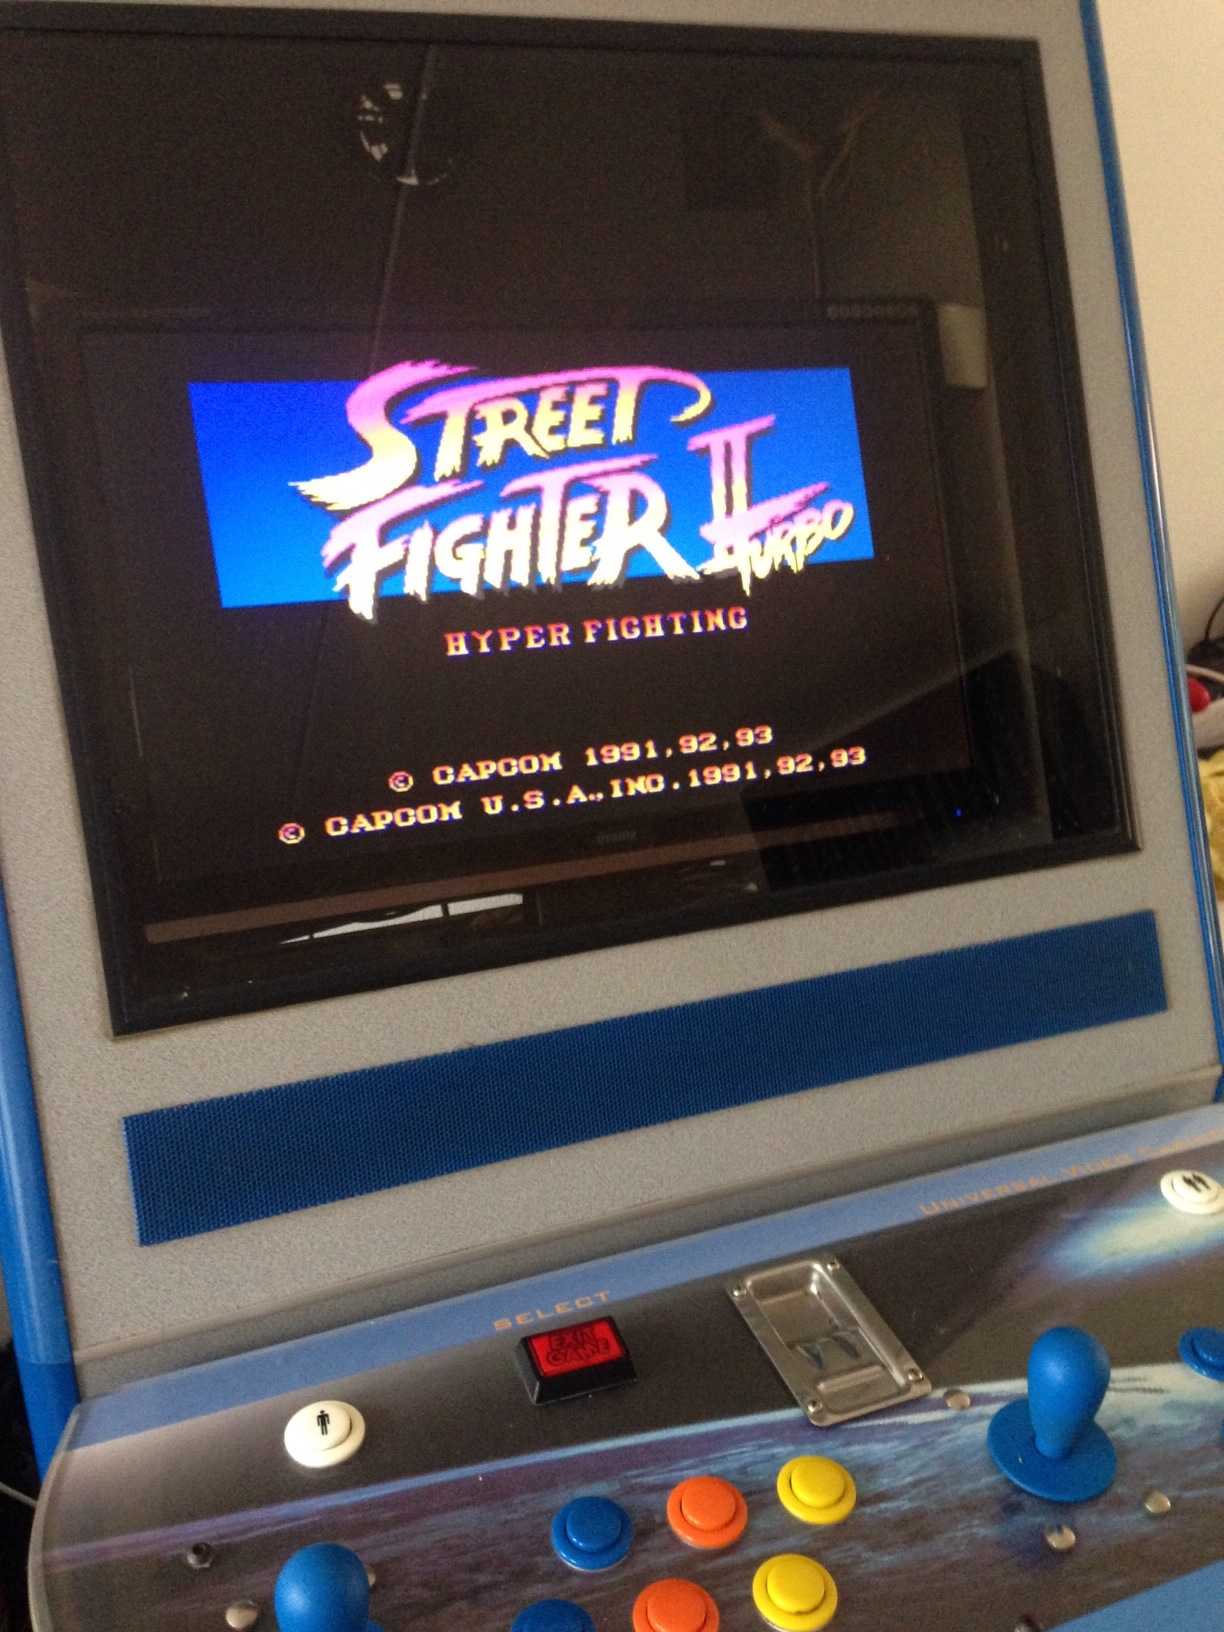
I’ve got a fully functional Raspberry Pi-based arcade cabinet running! Here’s a photo;
Total costs for this project; Arcade cabinet - 50 euro Getting the cabinet to my place - 80 euro Raspberry Pi with casing, etc - 70 euro 8GB SD card - 13 euro Cherry switches to replace the ones I broke - 10 euro Screws, cable lugs, crimper, etc (random small stuff) - 40 euro Xin-Mo Encoder - 30 euro TV - free Total: 293 euro
Step 6 - future stuff
Since everything is open source and customizable, I’ve got some plans for the future. Here are a few;
USB hub - I’m planning to build in a USB hub on the side of my cabinet so I can easily plug in a keyboard when needed, or even multiple joypads for 4 player action (Bomberman, anyone?). I’ve ordered this 4-port USB hub, but keep in mind that the Raspberry itself is powered through USB so devices that require a lot of USB power won’t work through a USB hub. Joypads and keyboards work fine though.
Duckhunt - I’m also planning to use the excellent cwiid Python library to hook up the Wii mote’s I have laying around (tutorial here). Combined with a few infrared LED’s to capture the Wii mote’s signal, I should be able to make a Time Crisis like set up to play shoot-em-up games with, or maybe even a hacked version of Duckhunt! You can also go the suckers way and buy an XFPS Storm Lightgun ;-)
USB NES controllers - I’ve also got some old NES controllers laying around, so maybe, one day, I’ll come round to one of those tutorials to make a USB version of them, like this one from Instructables or this one from Ed’s How-To’s. These are also readily available (ThinkGeek.com, ArcadeWinkel.nl).
Currency detector - it would be cool to hook up the currency detector to be able to start a game by throwing in a coin.
Beer holder - the cabinet has a place between the two players’ controls to put cigarettes, but since I don’t smoke it would be cool to replace these with beer holders, or maybe add them to the sides of the cabinet.

Written by Peter Jaap Blaakmeer @PeterJaap